
Weaving Nothing Into Art; the Rumpelstiltskin Principle
I really enjoy sharing how I make art with others. I am philosophically committed to being open-source about all materials and process. I love the Open Art Hive movement. I came to my curious artistic focus during my many years of being an at-home dad when our children were little. I use to call it my kitchen art studio and I had many hours there making art and food at the same time. It is hard to tell sometimes where food ends and where art begins.
My artist statement speaks to my commitment to working with the barest of materials- Like Rumpelstiltskin, I am creating objects of art by weaving together the ubiquitous, the quotidian, and the ephemeral, instead of his straw. My work is sculptural basketry. Tatlin meets the Appalachian Craft tradition and beautiful organic forms take shape.

Bush Basket 16”x16”x12”
Rumpelstiltskin Was a genius at working with nothing to achieve his end. There was no better example of this principle until now.

Coffee Filter collage 9”x12”
I am focused on materials which are semi-archival, that cost nothing, and which weigh very little. Things like toothpicks, chair cain, thread, string, coffee filters and glue are all grist for my mill.
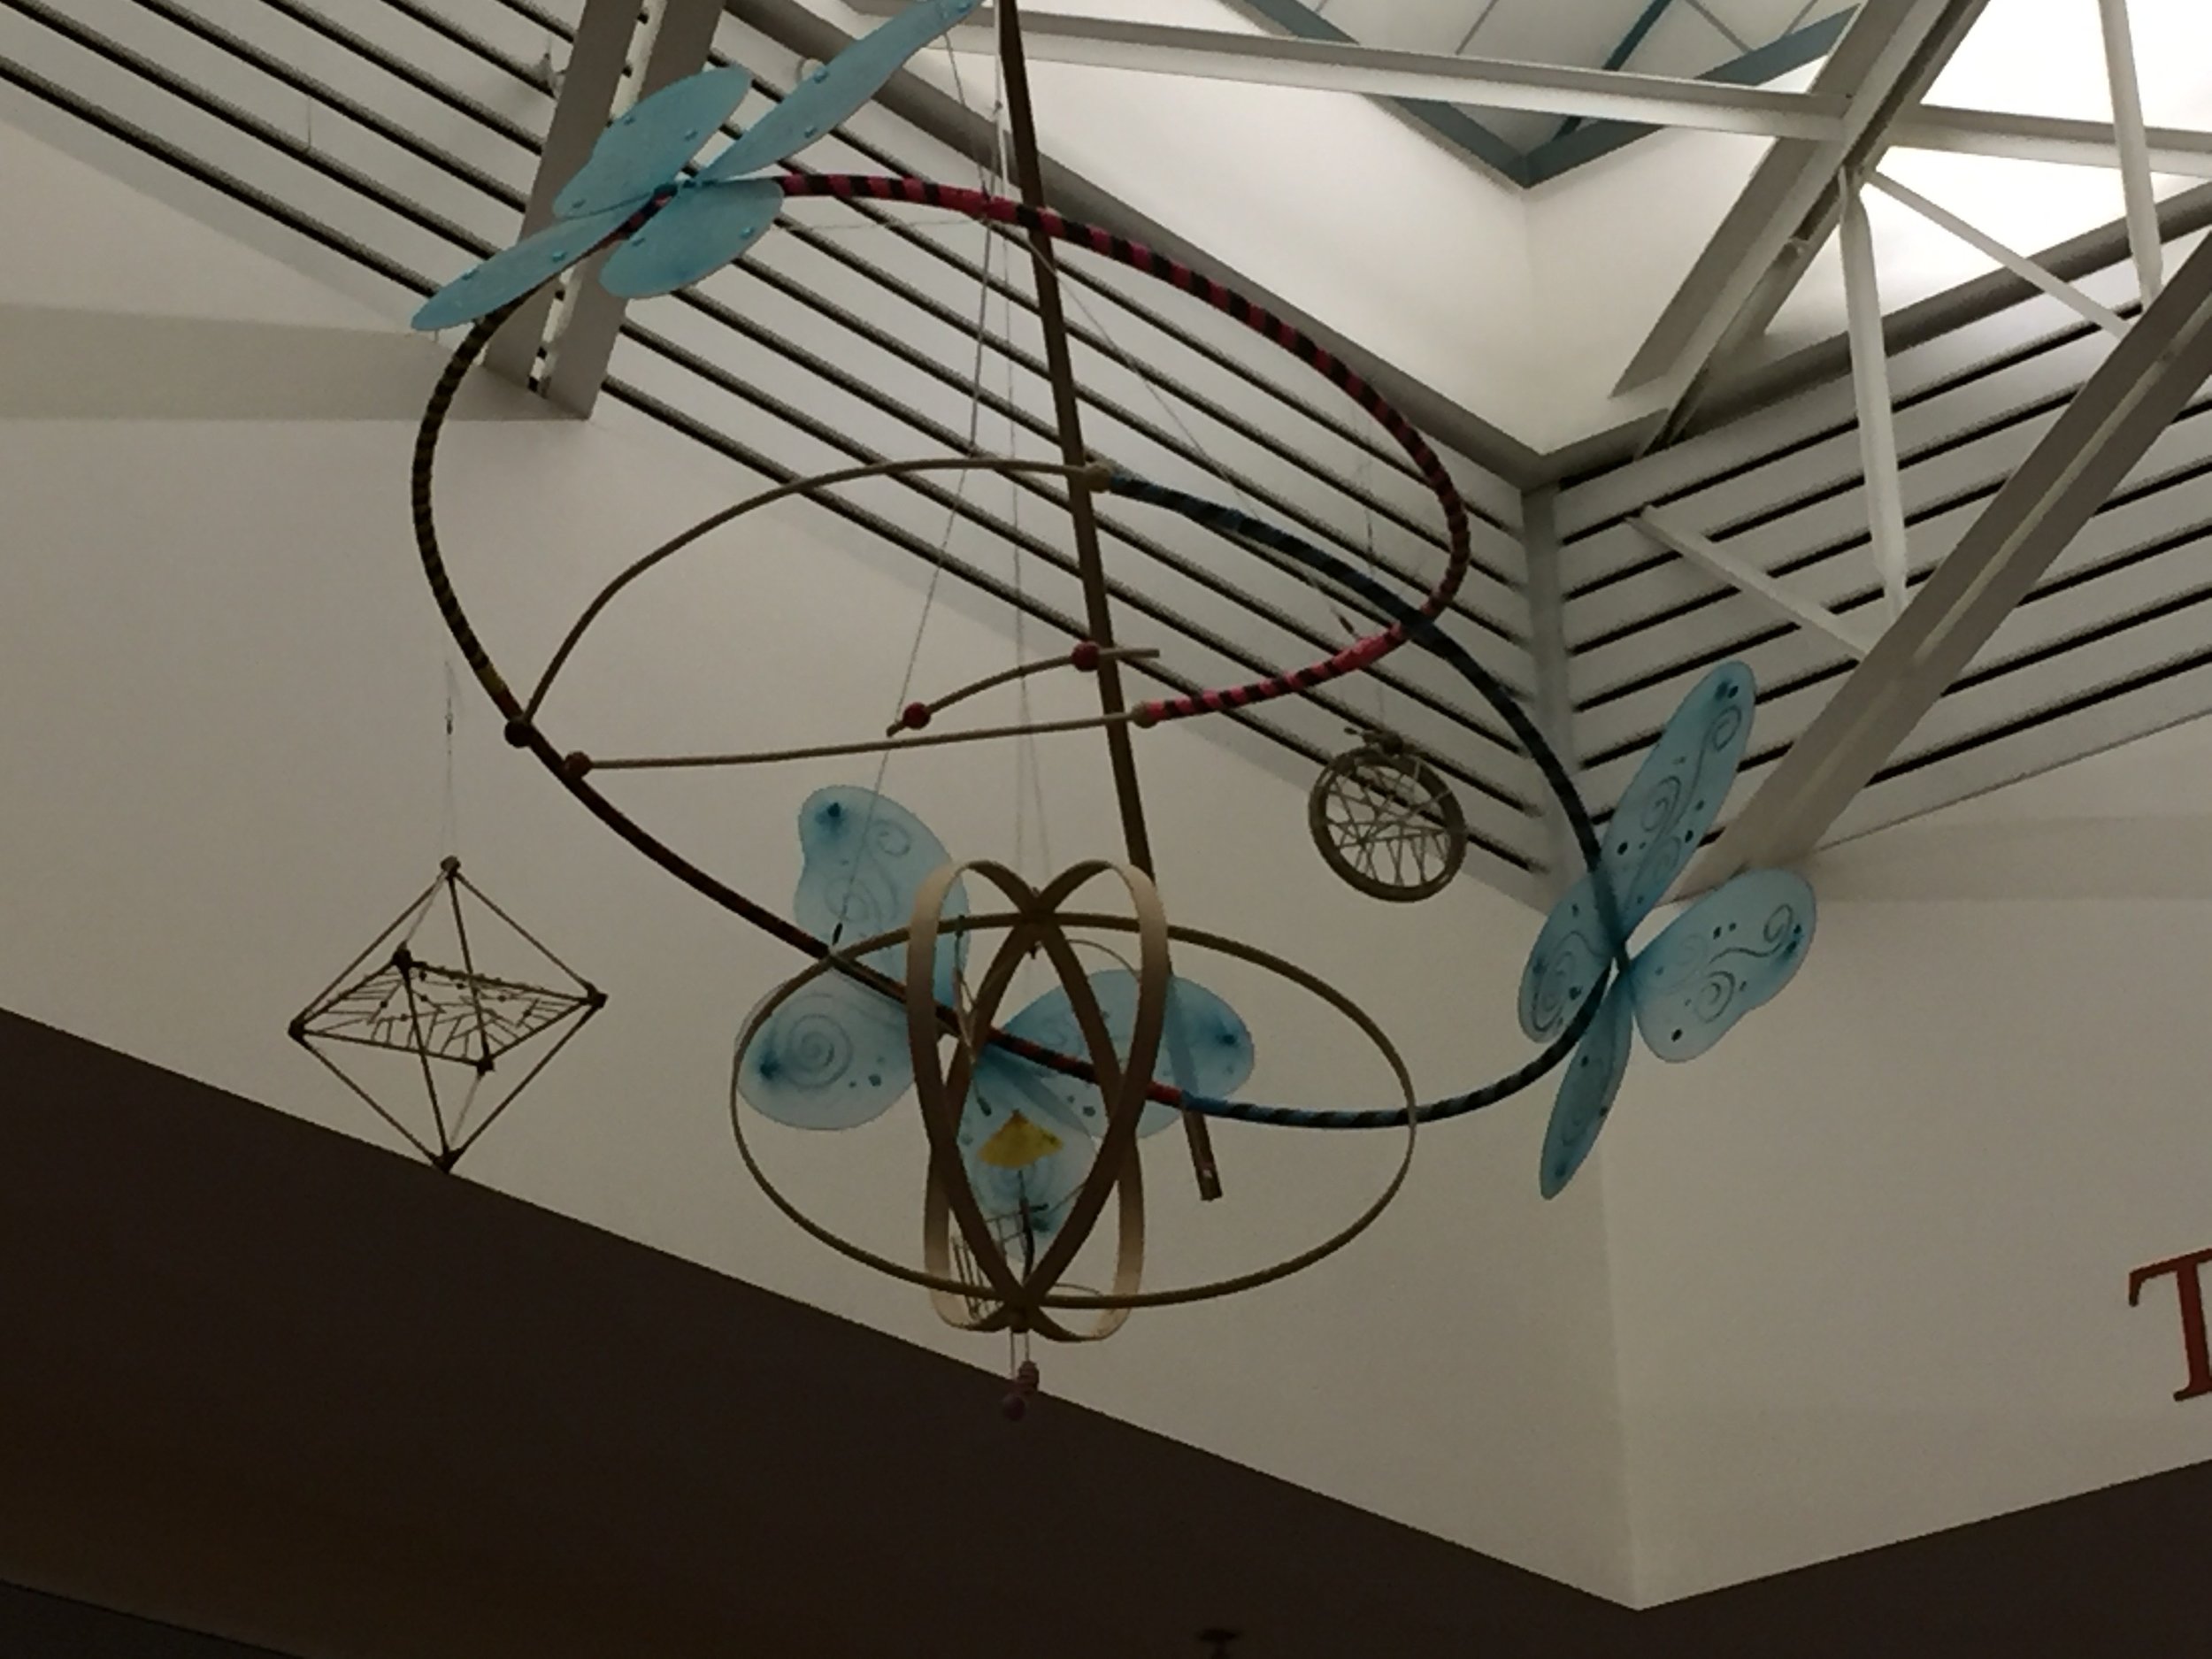
I have spent many an afternoon entertaining children with nothing but a box of toothpicks and a hot glue gun. When I add a piece of thread the project becomes a mobile which spins and floats on the subtle energy of a passing breeze in the room. Each piece is a puzzle or a game. They each result from a simple set of rules such as a decision to work flat, or to let gravity do the heavy lifting. I might create a framework using skewers to be used for toothpick weaving.

Kinetic toothpick weaving
The building strategy I recommend is called tipping which means I keep the glue gun on the stand (think large can of tomatoes) and I apply the glue to the tips of the toothpicks. Depending on the application, picks can be tipped on one end or two. Picks can be made into doubles, triples (equilateral triangles), or 3-d tetrahedrons. Basic polygons can be made before they are applied to the structure.
Tipping means the glue gun almost never touches the sculpture. It requires a little more patience and will save on your glue supply. Once the glue is applied to the tip of the toothpick, you have about 20 seconds before the glue becomes rigid. When working with children, this becomes an opportunity to explore geometry. This is a fun time to discuss acute angles vs. obtuse angles, and constructing equilateral triangles and tetrahedrons.
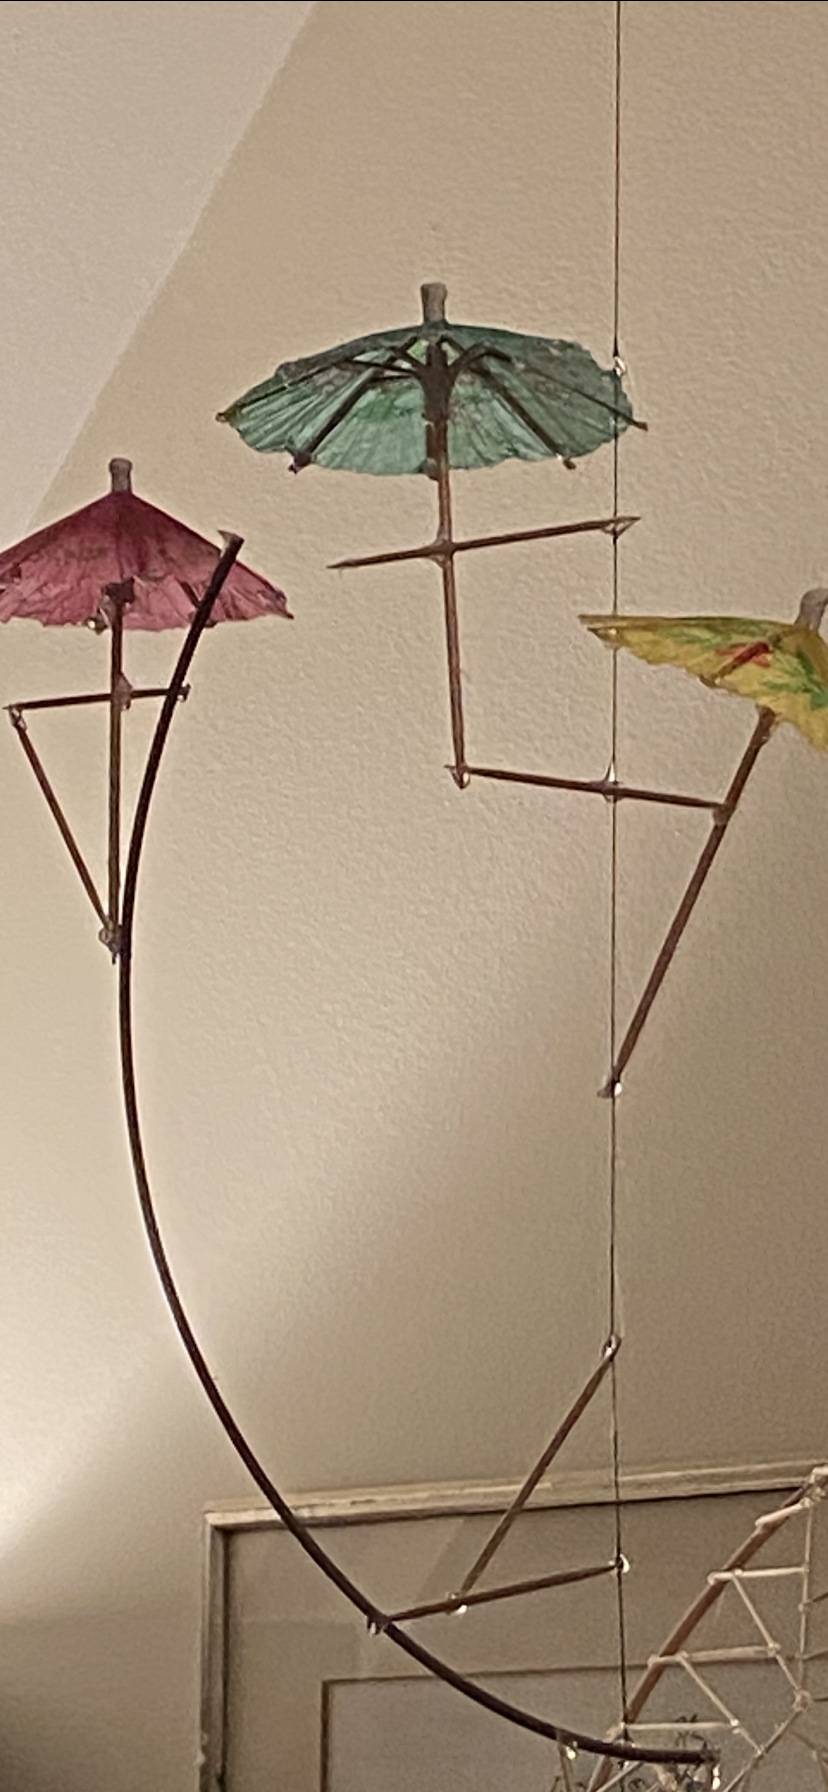
In the example below, I constructed tetrahedrons first and they were added to the figure which spins on a piece of upholstery thread. This kind of a project can go on for days, is very challenging for young minds, and uses pennies worth of materials. Afterwords, if I want to keep the sculpture for display, I re-glue all the joints with Elmers Glue to make them stronger. Then paint or shellac can be applied.
I am happy to answer any questions you have and I welcome any of your ideas. In another note I can describe how I use coffee filters and India ink to create fantastic materials for drawing, painting and collage. Again, the below example uses about 2 cents worth of material. Is an opportunity to teach ‘art math’, think fractions.